After ripping up the carpet and painting, our stairs stayed like this for a very long time:
Our original plan was to buy these ReTread stair covers. Unfortunately, back in May, when we started this project, Home Depot didn't carry them in the 60" width we'd need for our upper stairs. We then spent the next two months going back & forth on what we would actually do. We looked into tile, laminate, even ripping everything out and starting again. Everything was crazy-expensive, and often, still not even available in the the 60" width. By July, I'd pretty much just accepted that our stairs were going to be OSB forever. Then, on a whim, I looked at the ReTreads on HomeDepot.com again, and they now had them in 60" width, AND they were cheaper than the replacement treads we were looking at from Dunn Lumber. So, the easiest choice suddenly also became the cheapest!
I then proceeded to spend the next two weeks taking over the garage, staining & sealing the treads. We're not interested in doing this again any time soon, so I put 10 coats of varathane on each tread to give it a really good seal. Of course, we could have done the easier option and buy the pre-finished treads, but of course, they don't come in the 60" width (which seems a trend in all things relating to this staircase, I spent almost this much work finding a baby gate!)
August 1st:
Last weekend, we sent the kids to Grandma's house and Keith & I worked our tails off getting everything done. I measured each of the risers & treads and then Keith cut them out while I worked on the tile work for the risers.
August 2nd:
It was a huge, colossal bit of work to get all this done. After breaking two of his favorite tools, Keith has sworn off all DIY projects for the future and barred me from watching HGTV or looking on Pinterest ever again.
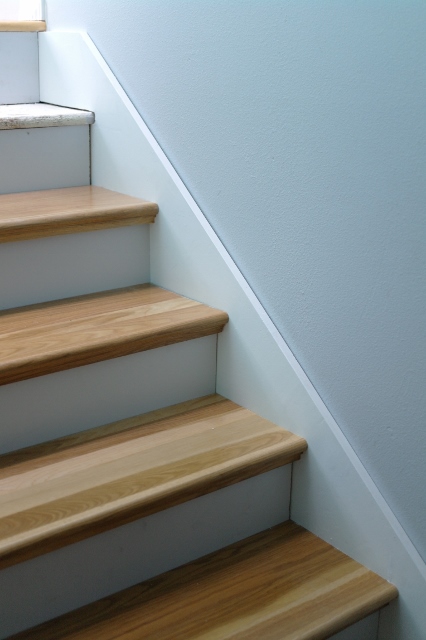
On Monday, I trucked the kids off to sports camp and started installing all the risers & treads and finished out all the tiling:
By Tuesday afternoon, everything was installed, finally!
Wednesday morning, I spent 3 hours caulking every single crevice on every single stair, it was a huge pain, and you can't tell from the photos, but it made the stairs look so much more finished, almost like they were installed by a professional!
Because the tile was so expensive, we did grey painted risers on the stairs to the basement, and tile just on the stairs going up from the door to the main level. The grey risers look nice, but they don't remotely have the same impact as the tiled ones.
We are SO happy with the final product, and the stairs are SO much easier to clean now
The observant reader will notice that the stairs (oak) and the landing (maple) don't technically match, this was the best we could do. I wasn't interested in doing maple stairs, because our floors are so soft they're covered with dings & scratches and I knew it would be a total mess with stairs, so I did my best to stain to match the color and just learned to live with a little off-color.
All-told, it only took us three months, and cost about 10x's what we were planning, that sounds like a pretty normal (not very well planned-out) home improvement project!


No comments:
Post a Comment